
Sharpening Your New MTC Blade: A Quick Guide
Posted by Vic Tesolin on 9th Jul 2024
Getting your MTC blade ready for use is straightforward once you’ve got your plane home. This guide will walk you through the essential steps to ensure your blade is primed for optimal performance. Follow these steps, and you'll have your blade up and running in no time.
Step 1: Remove Any Factory Oil
When you first receive your MTC blade, it will likely have a layer of oil from the factory. This oil is used to prevent rust during storage and shipping. Removing this oil is crucial before you begin sharpening or honing. Use a clean cloth and a solvent such as mineral spirits to wipe down the blade thoroughly. Ensure all oil is removed, as any residue can interfere with the sharpening process.
Step 2: Flatten the Back of the Blade
The next step is to flatten the blade’s back. The back is one-half of the equation and is just as important as the bevel. Start by flattening the front end of the blade’s back from the edge to about 25mm back.
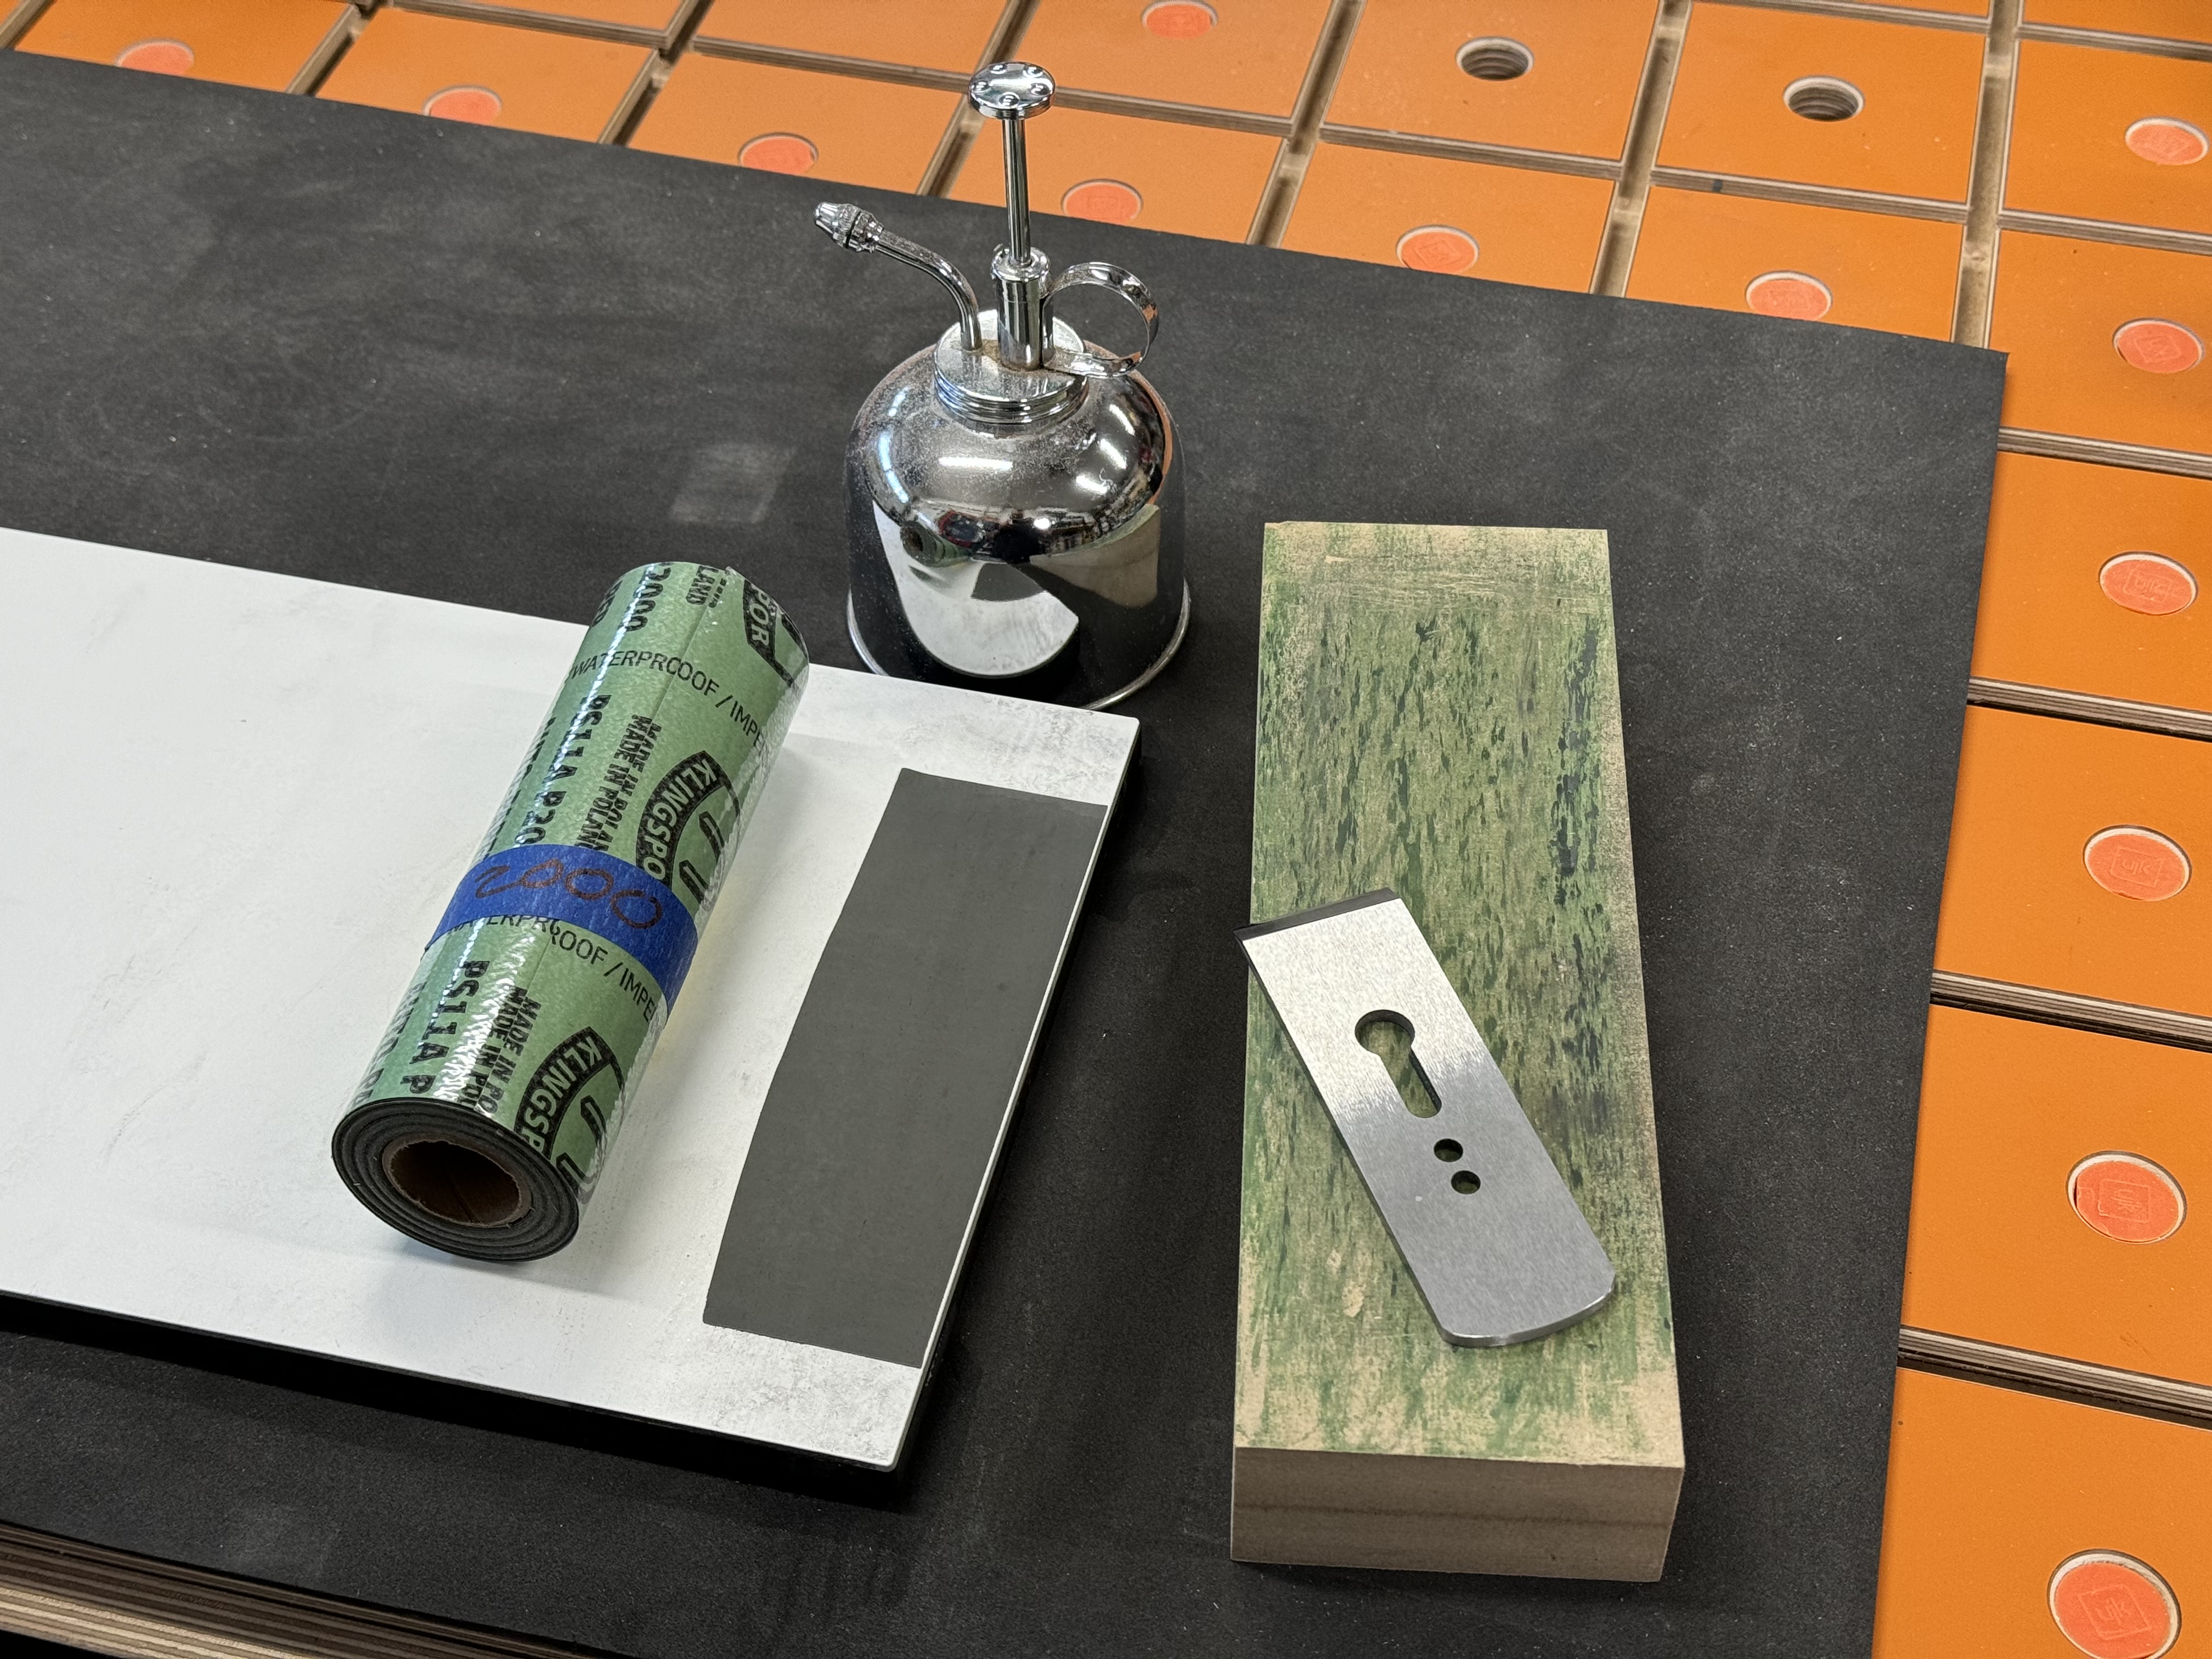
To achieve this, use a flat surface such as a granite slab or a piece of plate glass with sandpaper adhered to it. Start with 15 microns (or coarser) paper by rubbing the back of the blade back and forth. Check your progress frequently to ensure even flattening. Once you have a uniform flat surface, switch to a finer grit (about 5 microns) and repeat the process. Then, finish with an even finer grit (about 1 micron) to achieve a mirror-like finish. You can perform all these steps using any type of abrasive media, such as sandpaper, water stones, oil stones and a strop, or diamond plates.
Step 3: Sharpen the Bevel
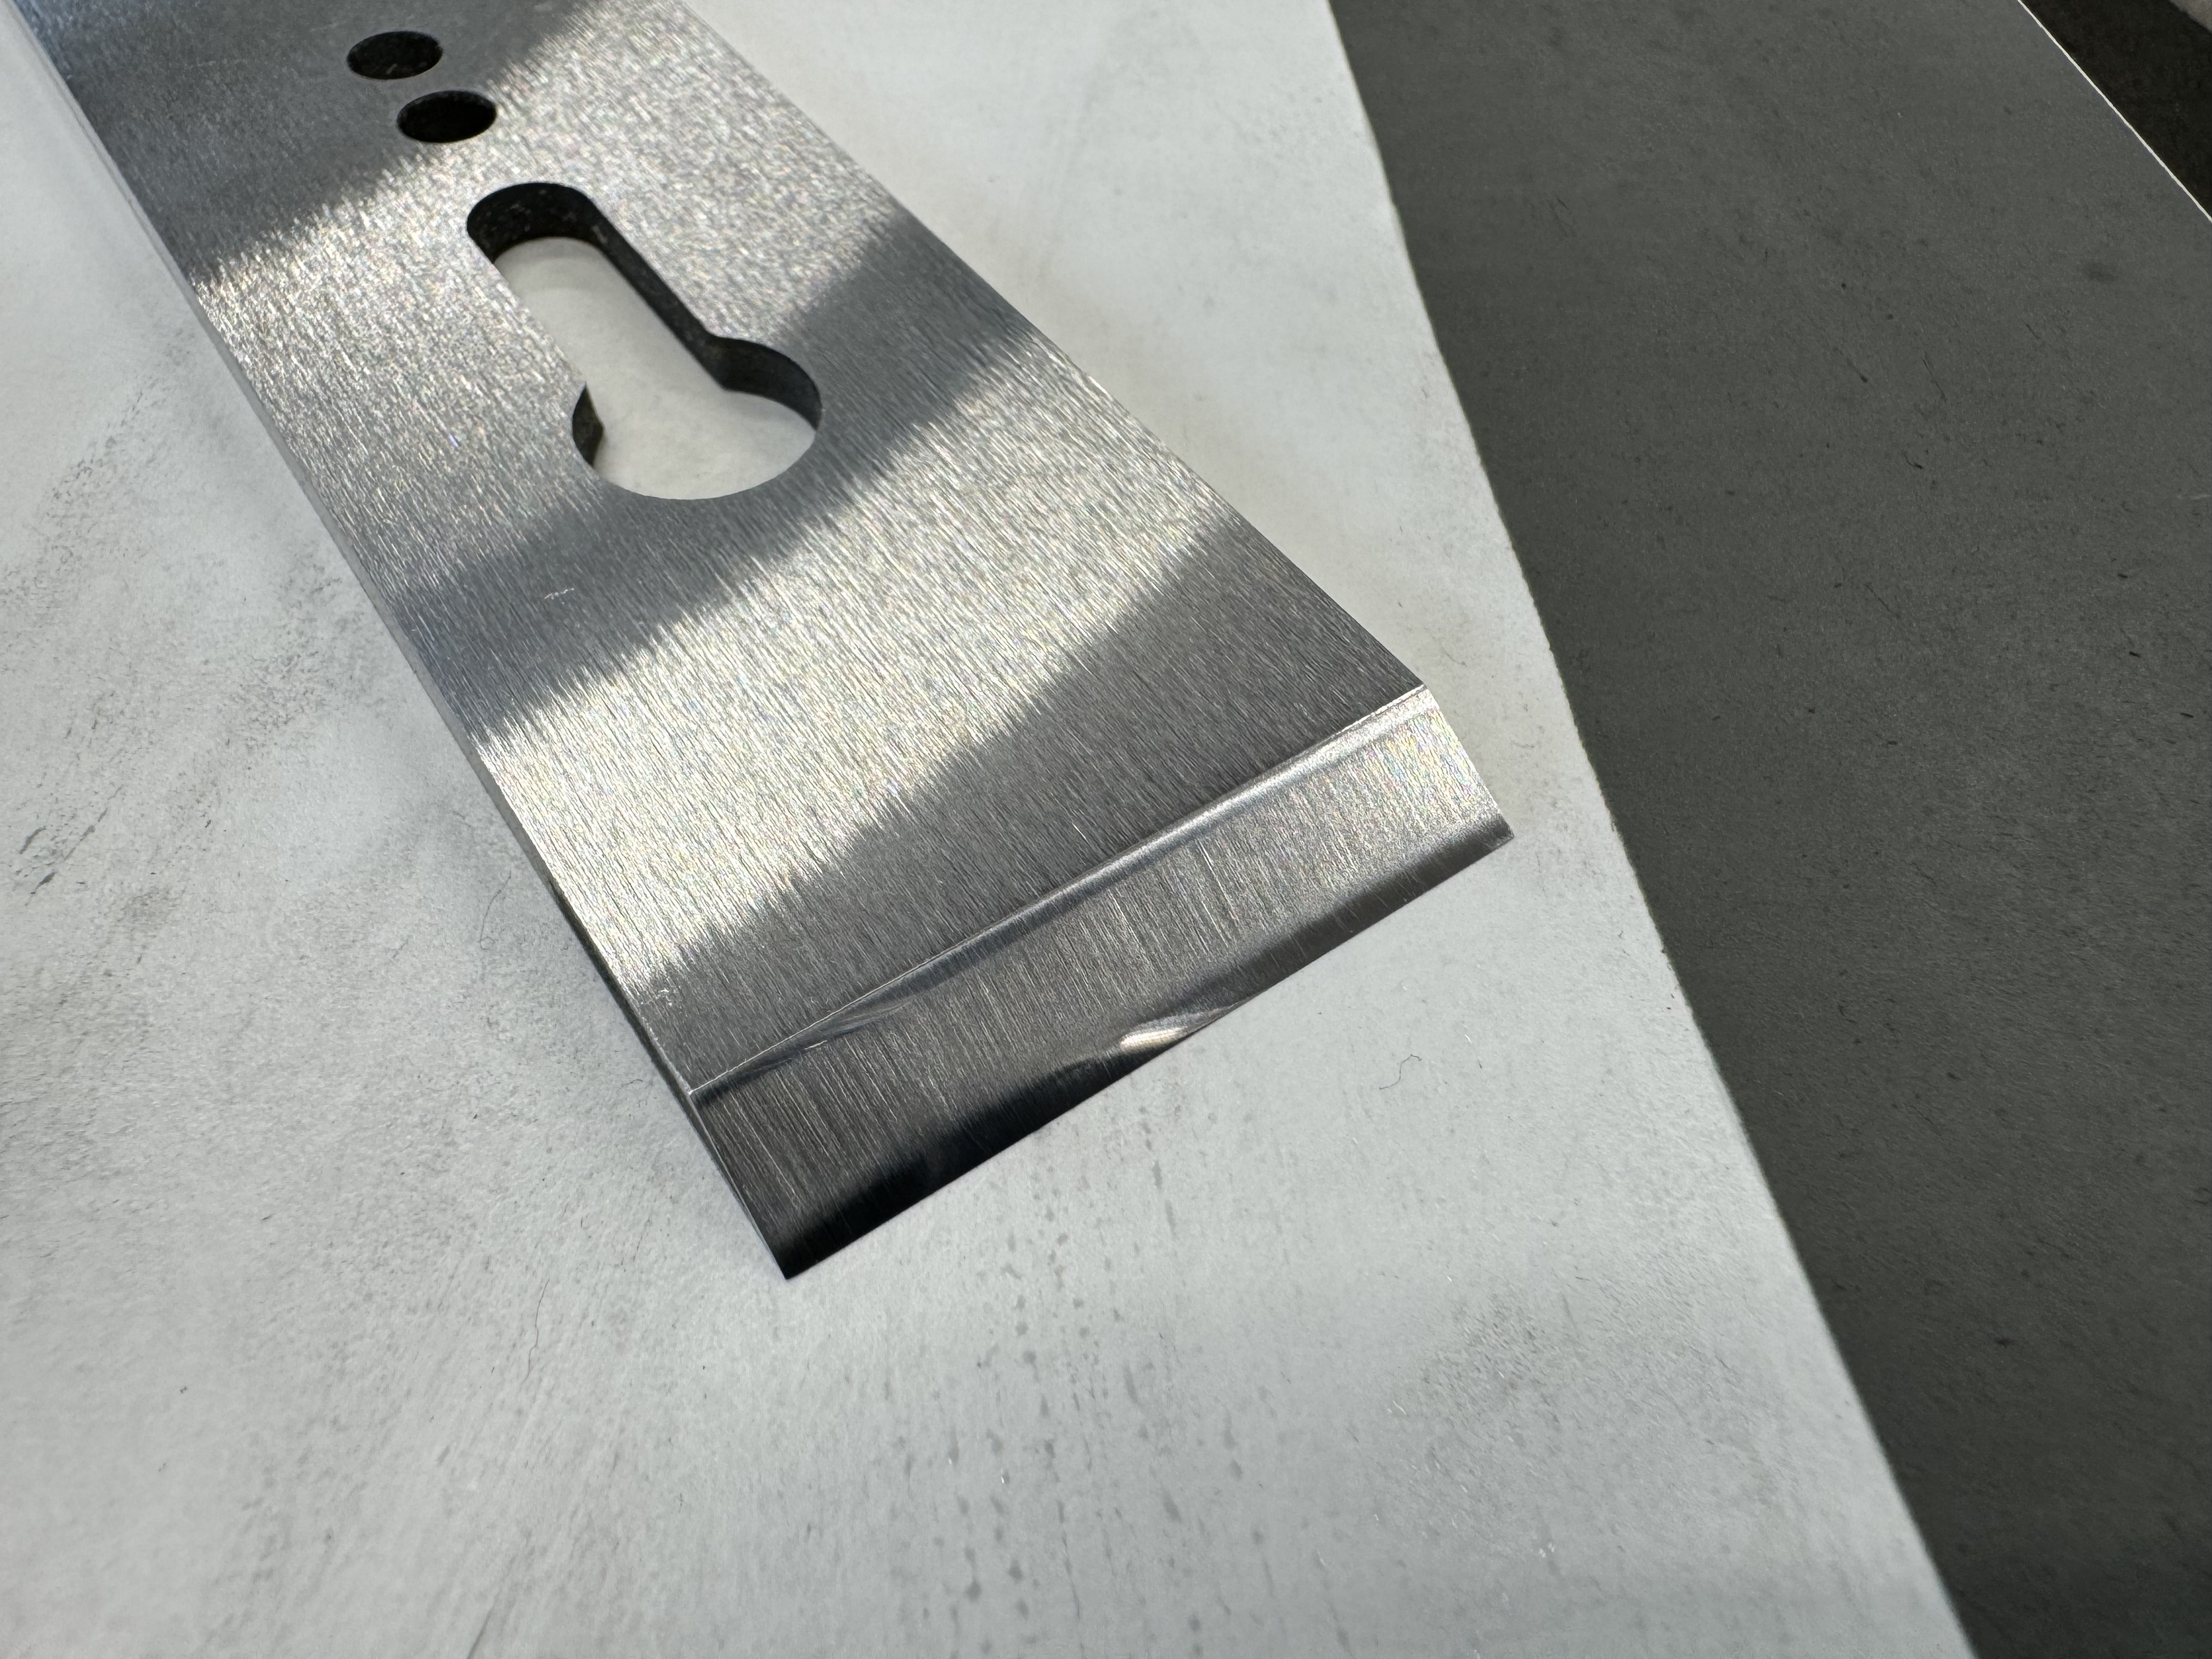
With the back of the blade flattened, it's time to move on to the bevel. The bevel is the angled surface that forms the cutting edge. Whether you prefer a single bevel or a secondary bevel, the key is to get the edge to the same level of polish as the back.
Maintain a consistent angle as you sharpen to ensure an even edge. You can do this by hand, but a sharpening jig can help with consistency. Once the bevel is shaped, move to a finer grit to hone the edge, then your finest grit to polish the bevel to the same level as the back. If you want a secondary bevel, increase the angle slightly and polish the very edge with the fine grit stone. This secondary bevel can make sharpening quicker in the future, as you only need to hone the smaller secondary edge but it’s certainly not necessary. You will create a burr when working on the bevel, and you can polish this away by running your blade's back on your finest stone.
Add Camber to the Blade (For Bench Planes)
If you’re setting up a bench plane, adding a slight camber to the blade can prevent the corners from digging into the wood. A camber is a gentle curve across the edge of the blade. This curvature helps create smoother, more controlled cuts, especially when planning large surfaces.
To add camber, slightly increase the pressure on the corners of the blade as you sharpen. This can be done on the final honing stone. It can be challenging to decide if the right amount of camber has been achieved. This is a test-and-learn situation. The curve should be subtle, with the highest point in the center and tapering off towards the edges. If you get track marks, you need more; if you only cut with the very centre of your blade, you have too much. Before long, you will have it sorted and be a cambering guru.
By following these steps, you’ll ensure your MTC blade is perfectly prepared for use. The blade is in good shape from the factory, so this process shouldn’t take long. Subsequent sharpenings should only take a few quick passes on your finest abrasive to get you back to work. The good news is your plane will tell you it’s getting dull when it stops cutting. That’s your cue to touch it up.
In order to understand, you must do. - Vic Tesolin