Sharpening on a Budget: A Simple Guide to Razor-Sharp Tools
Posted by Vic Tesolin on 7th Feb 2025

Sharpening your tools doesn’t have to be complicated or expensive. In fact, with just a few basic supplies, you can get your tools razor-sharp without spending a fortune. Let’s take a look at an easy and affordable way to keep your edges in top shape.
The Different Sharpening Options
There are plenty of ways to sharpen tools, and each method has its own pros and cons. Here are the main ones:
Water Stones – These work fast and give a super polished edge, but they need regular flattening.
Oil Stones – A classic choice that lasts a long time but tends to cut a bit slower.
Diamond Stones – Super durable and low maintenance, but they can be pricey.
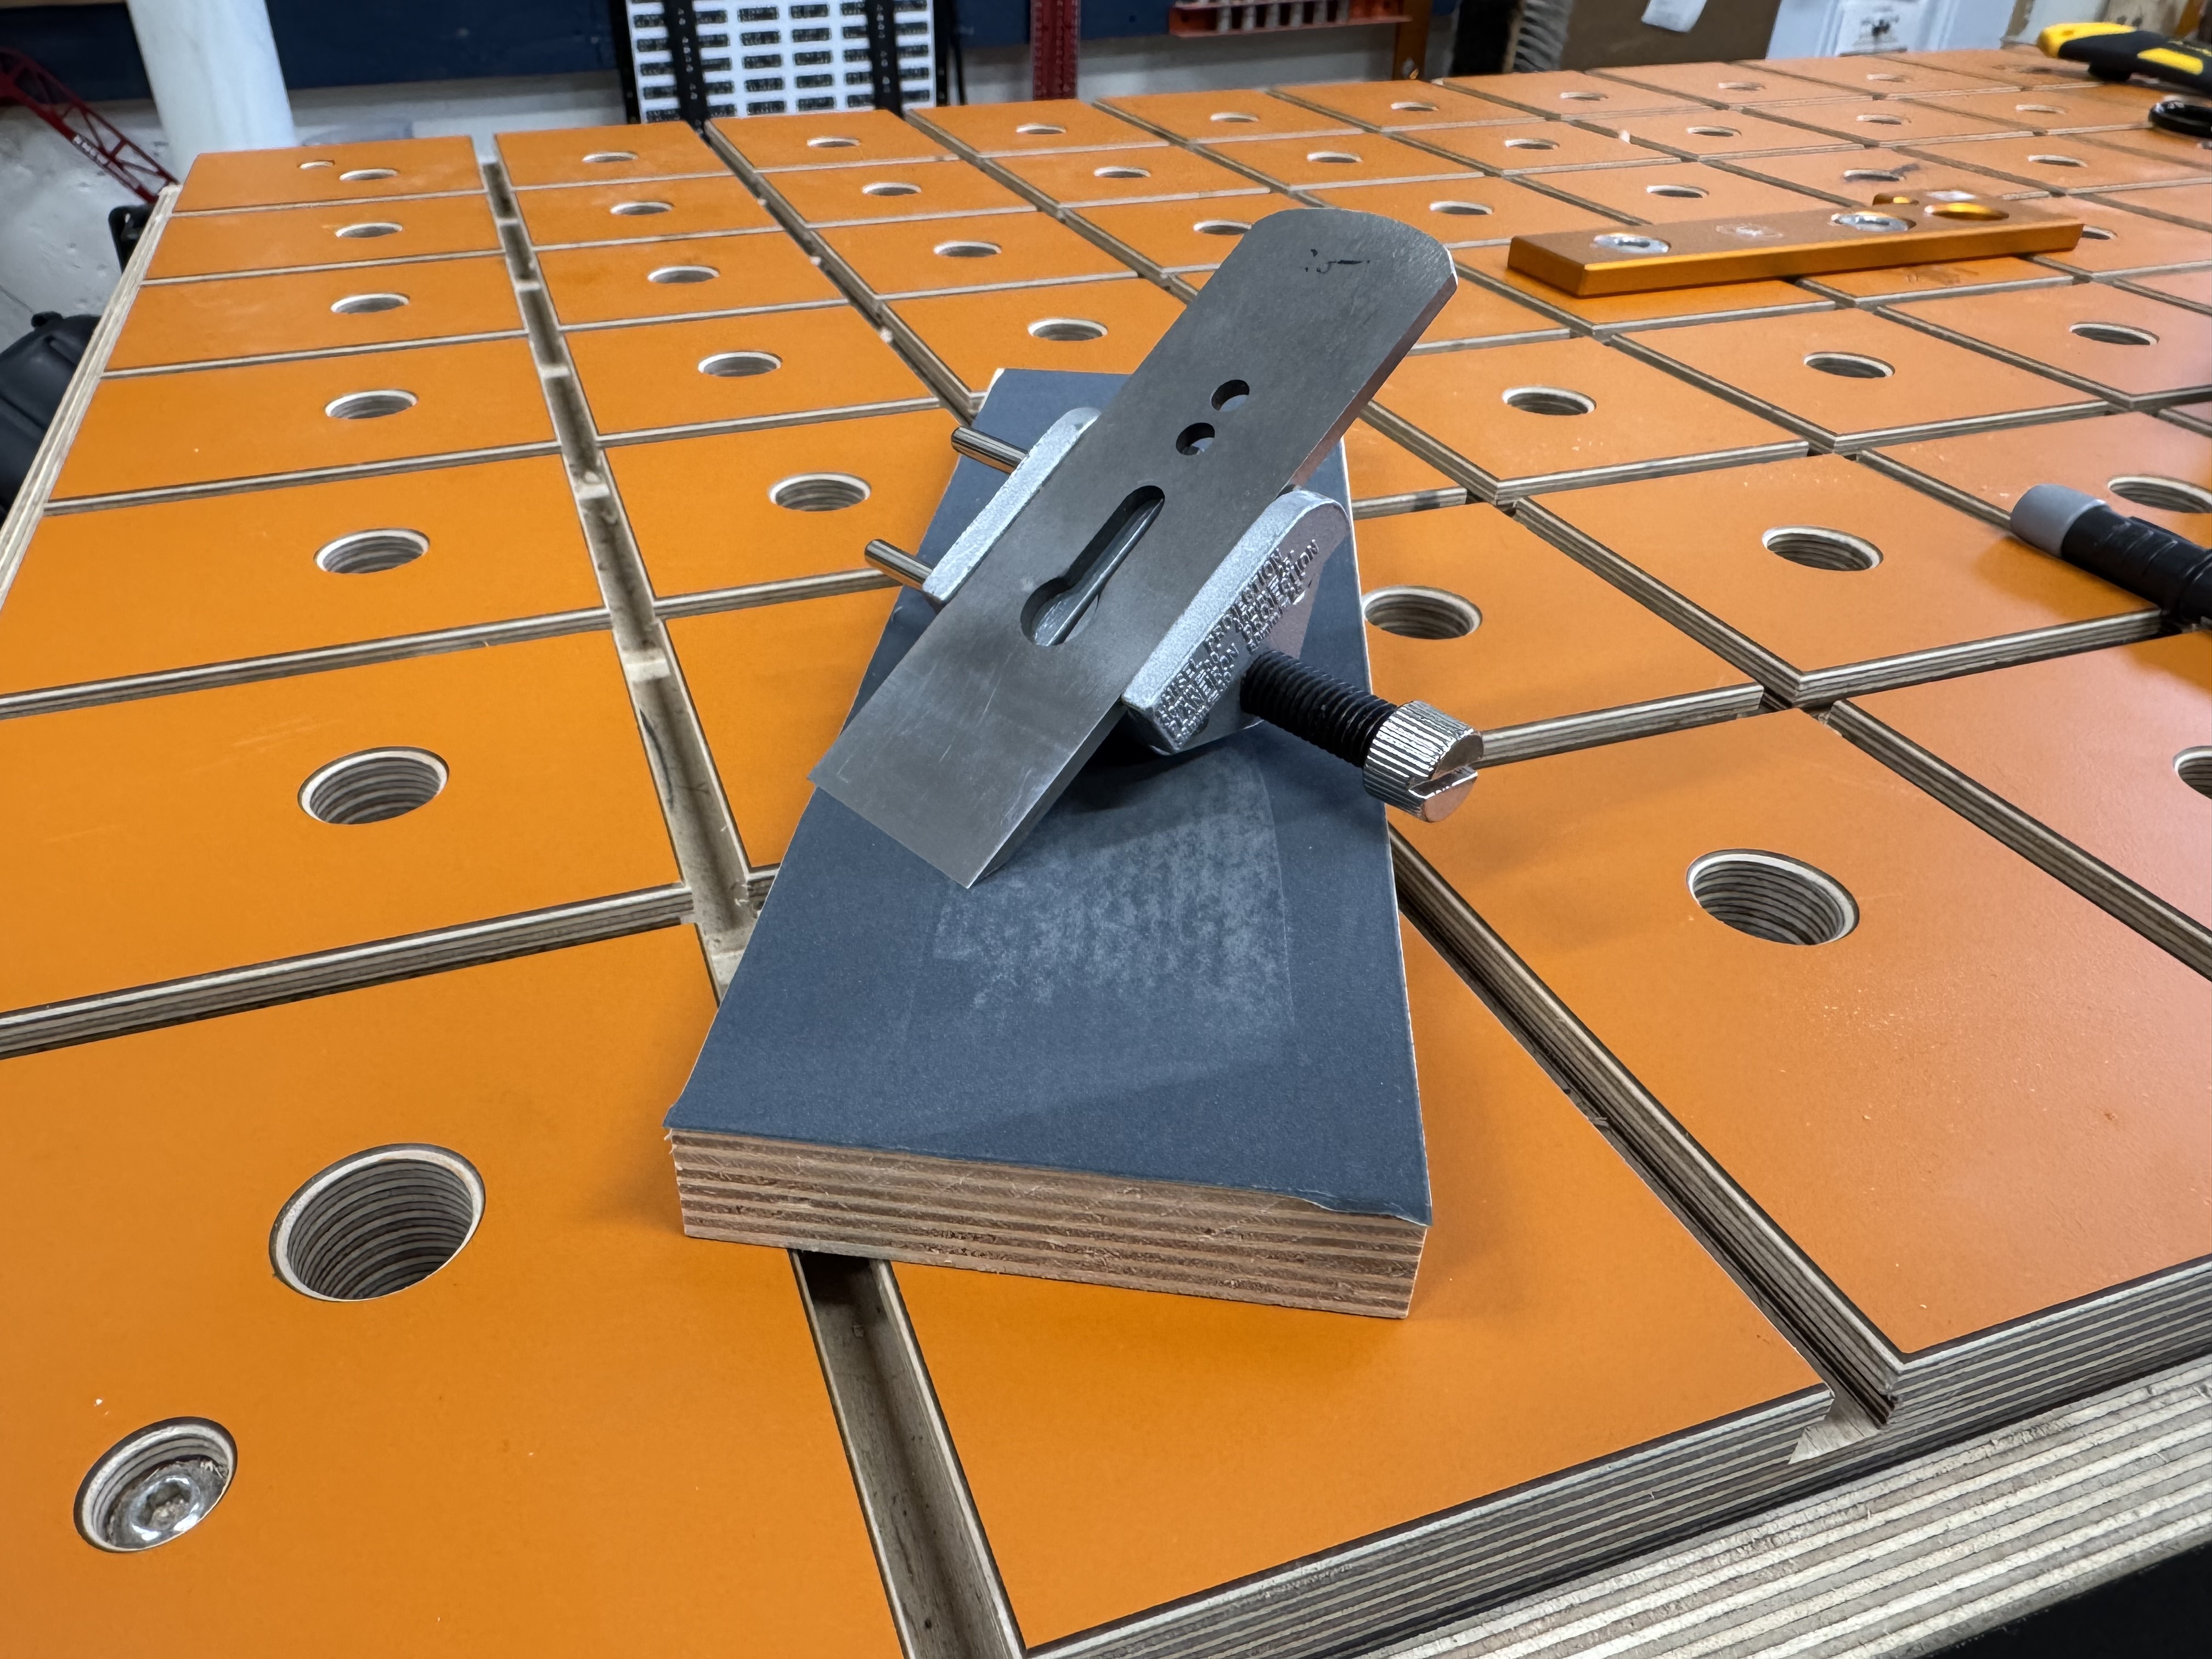
If you’re looking for something simple and affordable, sandpaper on a flat surface is the way to go. It’s budget-friendly, easy to set up, and gets the job done.
Finding a Flat Surface
Before you start, you need a solid, flat surface to stick your sandpaper onto. Here are some good options:
- Glass – A nice, flat surface that’s easy to find.
- Granite Tile – A single granite tile from the hardware store works great.
- High-Quality Plywood or MDF – These can work too, but check them with a straightedge to make sure they’re actually flat.
Whichever one you choose, just make sure it’s truly flat by checking it with a ruler or straightedge.
Picking the Right Sandpaper
Not all sandpaper is created equal! The regular stuff you use for wood won’t work well on metal. You need silicon carbide sandpaper with a waterproof backing—this stuff is made to handle metal and holds up well.
Here’s a good range of grits to have on hand:
- 220, 320, 400, and 600 grit – These are great for shaping and flattening blades.
- 800, 1200, 1500, and 2000 grit – Use these for honing and polishing to get that mirror finish.
If you want to make life easier, go for pressure-sensitive adhesive (PSA) backed sandpaper—it sticks easily and saves you from dealing with tape or spray adhesive.
Keeping a Consistent Angle
One of the biggest struggles with sharpening is keeping a steady bevel angle. A sharpening jig makes this way easier. You don’t need anything fancy—just a simple jig for under $20 will do the trick.
Sharpening on a Budget: What You’ll Spend
With this method, you can put together a solid sharpening setup for around $50:
- Flat surface – $10-$15
- Assorted sandpaper – $20
- Basic sharpening jig – $15-$20
For that price, you’ll be able to keep your tools sharp and ready to go, making your woodworking a whole lot smoother.
Dull tools are no fun, and they can make woodworking way harder than it needs to be. But keeping them sharp doesn’t have to be a big hassle or a big expense. With a little know-how and a simple setup, you can get pro-level sharpness on a budget. Give it a shot—you’ll be surprised at how much better your tools perform!

